Monday, July 9, 2012

Last Exit to Nowhere Diorama Build II


TOP PHOTO so we've put in a table with some TOP SECRET documents on it, added some movie posters and of course a bunch of Nazis! Indy is unarmed  except for a wrench, what will he do? Fear not hear comes Short Round with Indy's whip swinging in on a line to save the day -  or contribute to the saving of the day.
BOTTOM PHOTO- I wanted a sense of a spotlight on Indy with everything else fading out, to get this lighting effect I used one of those hand cranked flashlights, they give a really clear light and  I think it fades out nicely. This is the photo I submitted to the contest , here's hoping I win.
as always, I am
A.Shay Hahn
twitter
@madcraftshoppe
facebook
Andrew Shay Hahn (The mad craft shoppe)

Last Exit To Nowhere Diorama Build


Last Exit To Nowhere is a great TShirt site that produces shirts based on businesses seen in films, they also run the most fun group on facebook. They have monthly contests for TShirt giveaways and I decided to do a build this month and participate.
STEP ONE (top photo) Here you can see the masonite base and wall, I printed off their logo at a size that was reasonable when compared to 3.75 (1/18) action figures. I then made the cinderblock bricks out of the little art canvas wedges that I love so well which usually get when you buy prestretched canvases. I basecoated the whole thing in a brown/black acrylic paint mix and highlighted the bricks and stipled the ground.
STEP TWO (photo two and three) this warehouse needs pipes! The mini dowels and "my first puzzle" bits make excellent water pipes and really add character. I laid the diorama down flat and glued them in place and waited for the pieces to dry.
STEP THREE (photo four) I painted the pipes with a mixture of red oxide and a bit of black to give them a sense of age and then stipled black around the edges of the wall and floor so it looks like it fades out. Then I printed off some mini movie posters and glued them in place followed by the oil drum and crates. The crates are made of wooden alphabet blocks covered in popsicle sticks and then painted with a mix of raw sienna and raw umber highlights. Basecoated with raw umber first and then dry brushed with raw sienna.
( To see these techniques being used scroll down and explore the blog.)
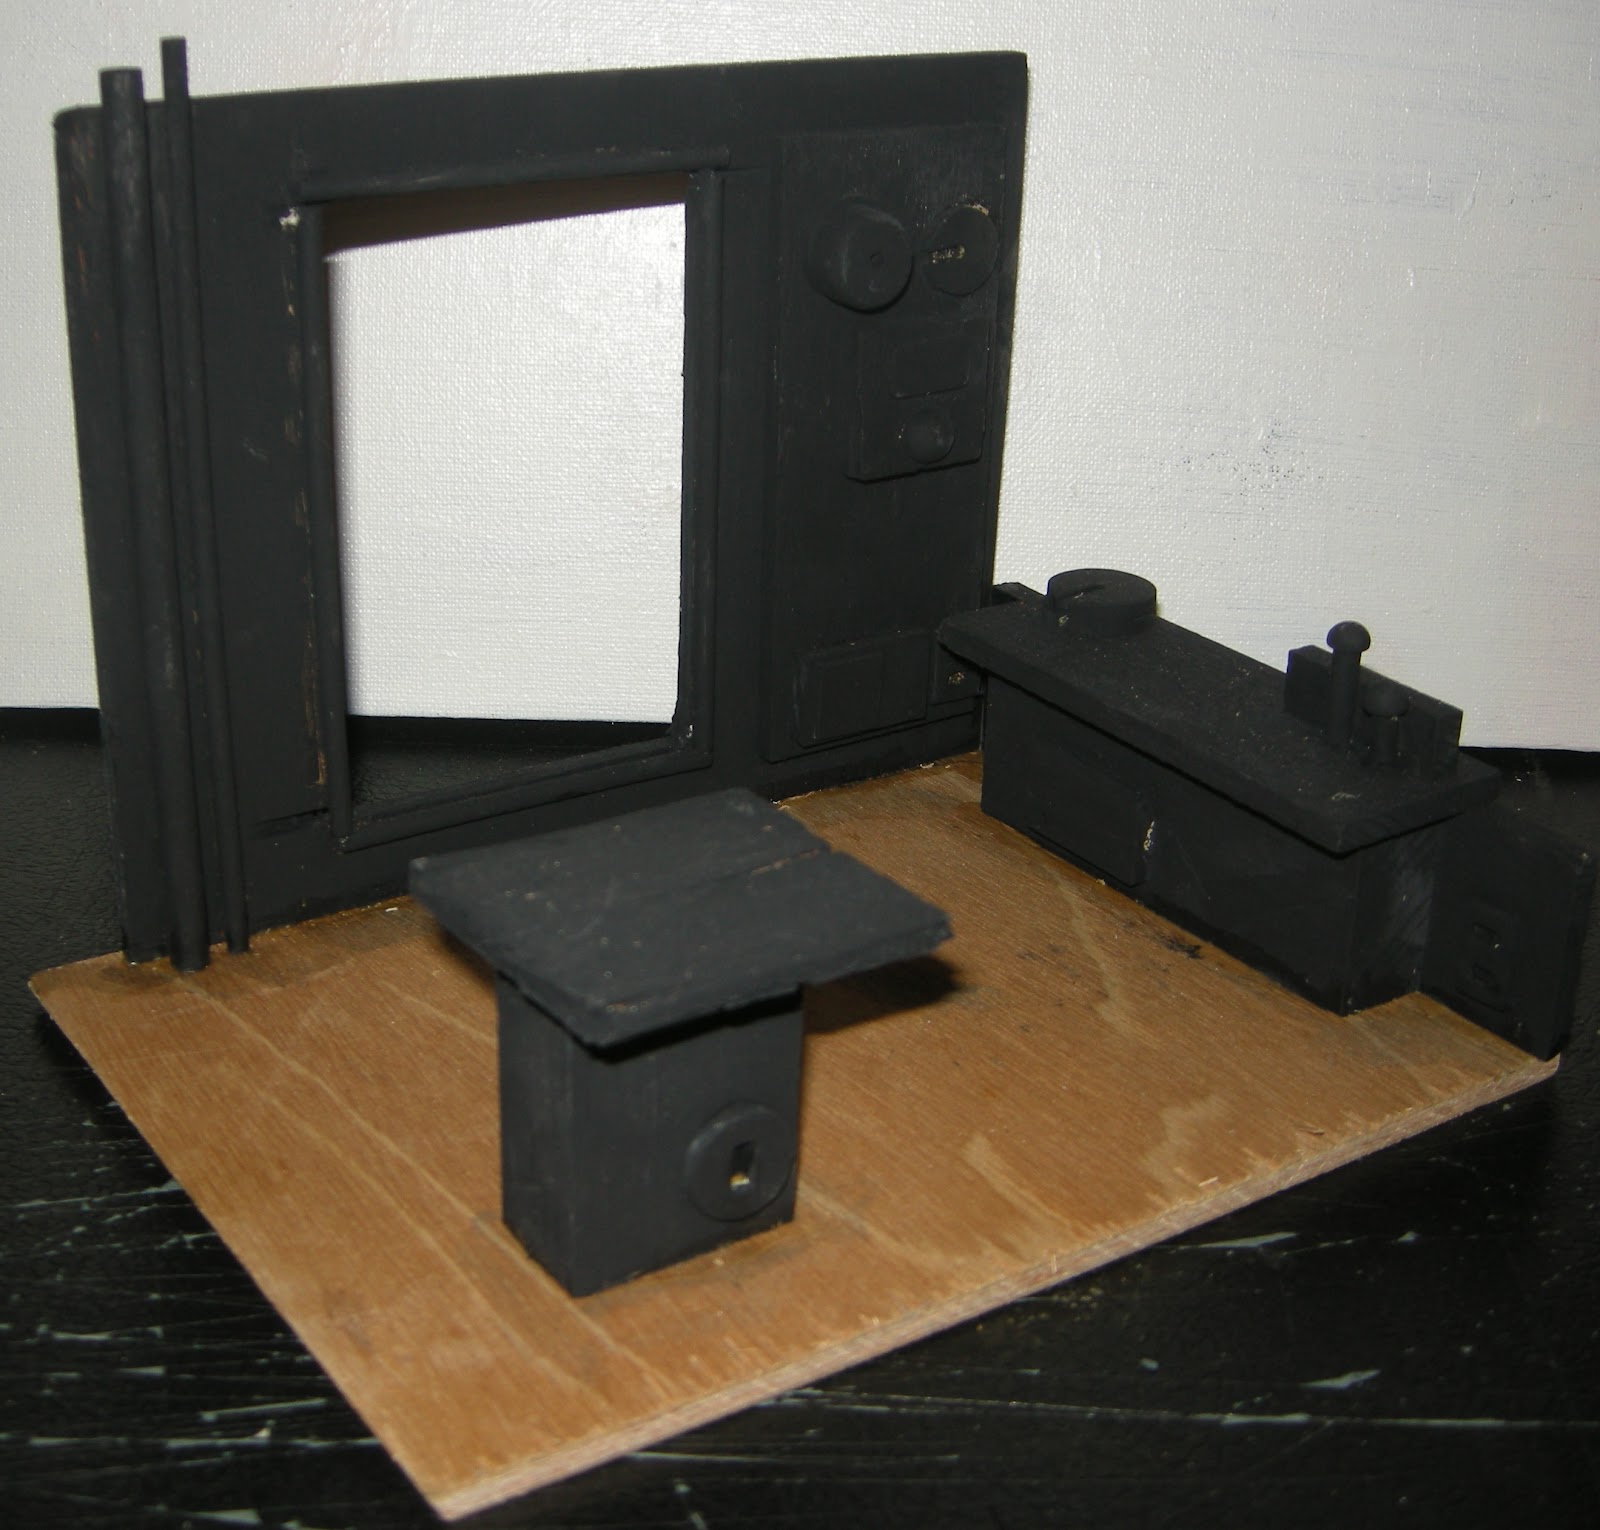
So here's the background to the model - stay tuned over the next couple of days to watch it develop, I'll add more props, figures and some lighting effects, photo angles to bring this piece to life.
Be sure to check out Last Exit To Nowhere on facebook or at their website
Also check out my site Andrew Shay Hahn (the mad craft shoppe) on facebook to see other dioramas or feel free to explore the blog, we'd love to hear from you.
A.Shay Hahn
follow on twitter
@madcraftshoppe

Thursday, July 5, 2012

Building A Popsicle Stick Bar


Here are a couple of detail shots of the bar I build for the citiszens of Any How Town to relax in after a long day of adventuring. The trick to this was the detailing, snipping out tiny magazine photos of all kinds and filling the bar area with them and some props, a french horn from a Christmas Ornament, a weird dinosaur skull etc. I even ordered the glasses and bottles from China on ebay, also the skull in a jar was a left over from the wall of skulls I built (scroll down it was probably around Hallowe'en. Ill do a detailed action shot later on with some figures and lighting to really bring this to life.
A.Shay Hahn

Building a Popsicle Stick Workshop


Yes,yes I know, using the term "popsicle stick" is incorrect when it comes to this tutorial but I realized I hadn't put any new builds up here in quite awhile. So here are two parts of a work shop that I've been making off an on in between painting. I took a look through my older models and realized there was a lack of tables. If the people of Any How Town are going to build something they need tables to do it on . I grabbed stuff from my odds and ends box and made these different work tables, taking care to make sure they were the height of a 3.75 or 1/18 figure. We'll come back to this as the model progresses.
Scroll down the blog to see more tutorials and tips for building dioramas.
and send us any questions you have!
A.Shay Hahn
Twitter
@madcraftshoppe